


⚡ TL;DR: This guide walks you through tile roof installation in Orlando, from selecting durable materials and prepping the roof to tackling heat, humidity, wind codes, and a bungalow case study.
📋 What You’ll Learn
In this ultimate tile roof installation guide for Orlando, FL, you'll master local-proof techniques, material selection, step-by-step processes, and strategies to conquer heat, humidity, and wind for a resilient roof.
- Master Orlando-proof material selection by picking durable tiles and underlayments designed to resist Central Florida's intense heat, heavy humidity, and hurricane-force winds effectively.
- Execute pre-installation inspections and prep to uncover deck issues, ensure solid framing, and create the ideal base for long-lasting tile adhesion in humid conditions.
- Assemble must-have tools and safety gear for your team, featuring harnesses, pneumatic nailers, and cutters to enable safe, precise work on steep Orlando roofs.
- Follow precise step-by-step laying methods from starter rows to ridge caps, with expert overlaps, nailing, and venting for superior waterproofing and durability.
- Conquer local challenges like wind codes using proven tactics from real Orlando projects, including case studies of storm-damaged roofs transformed into fortresses.
📖 Reading time: 8 min
✍️ Author expertise: Orlando roofing pro with 20+ years of field-tested tile installations in Florida's extreme climate.
Picture your Orlando bungalow shrugging off another brutal summer downpour, tiles gleaming like they own the skyline.
That's the power of a properly installed tile roof in Florida's relentless heat, humidity, and hurricane season—but screw up the install, and you're handing your wallet to the next roofer on speed dial.
We've nailed thousands of these jobs right here in Central Florida, dodging the pitfalls that sink amateurs.
Grab a coffee and let's break down the ultimate tile roof installation playbook, step by scorching step.
Selecting Orlando-Proof Tile Materials and Underlayment
First off, skip the cheap imports that crack under Florida sun. Go for high-impact concrete tiles or genuine clay—they shrug off 140 mph winds and laugh at hail the size of golf balls.
Clay tiles breathe better in our swampy humidity, cutting moisture traps that rot decks. Concrete? Tougher for budget jobs, lasts 50+ years with zero fading.
Tile Types That Survive Orlando's Fury
- Clay (S- or S-shaped): Classic look, excellent thermal expansion for heat waves.
- Concrete flat or barrel: Cheaper upfront, mimics clay without the fragility.
- Avoid low-fire ceramics: They shatter in our first big blow.
Underlayment is your secret weapon against leaks. Ditch old-school asphalt felt—it turns to mush in humidity. Grab synthetic underlayment like Titanium PSU30: grippy, tear-proof, and vents steam like a champ.
Layer it right over ice-and-water shield on eaves and valleys. This combo blocks 100% of wind-driven rain, no questions asked.
Pre-Installation Roof Inspection and Prep Essentials
Before a single tile hits the deck, inspect every inch of your Orlando roof. Scout for rot, weak spots, or warped decking that Florida's moisture loves to chew through. One overlooked punk could turn your new roof into a leak factory six months later.
Key Inspection Checklist
- Check rafters and trusses for cracks or sagging under years of heat expansion.
- Probe plywood sheathing with a screwdriver; soft spots mean replace now.
- Clear gutters, valleys, and flashing zones of debris, leaves, and old shingle bits.
- Measure pitch: Orlando tile jobs demand at least 4:12 slope to shed water fast.
Prep smart or pay later. Lay down ice-and-water shield in valleys and eaves, doubling up where hurricanes hit hardest. Trim overhanging branches that drop missiles during storms, and seal penetrations like vents with high-heat caulk built for Central Florida's sauna.
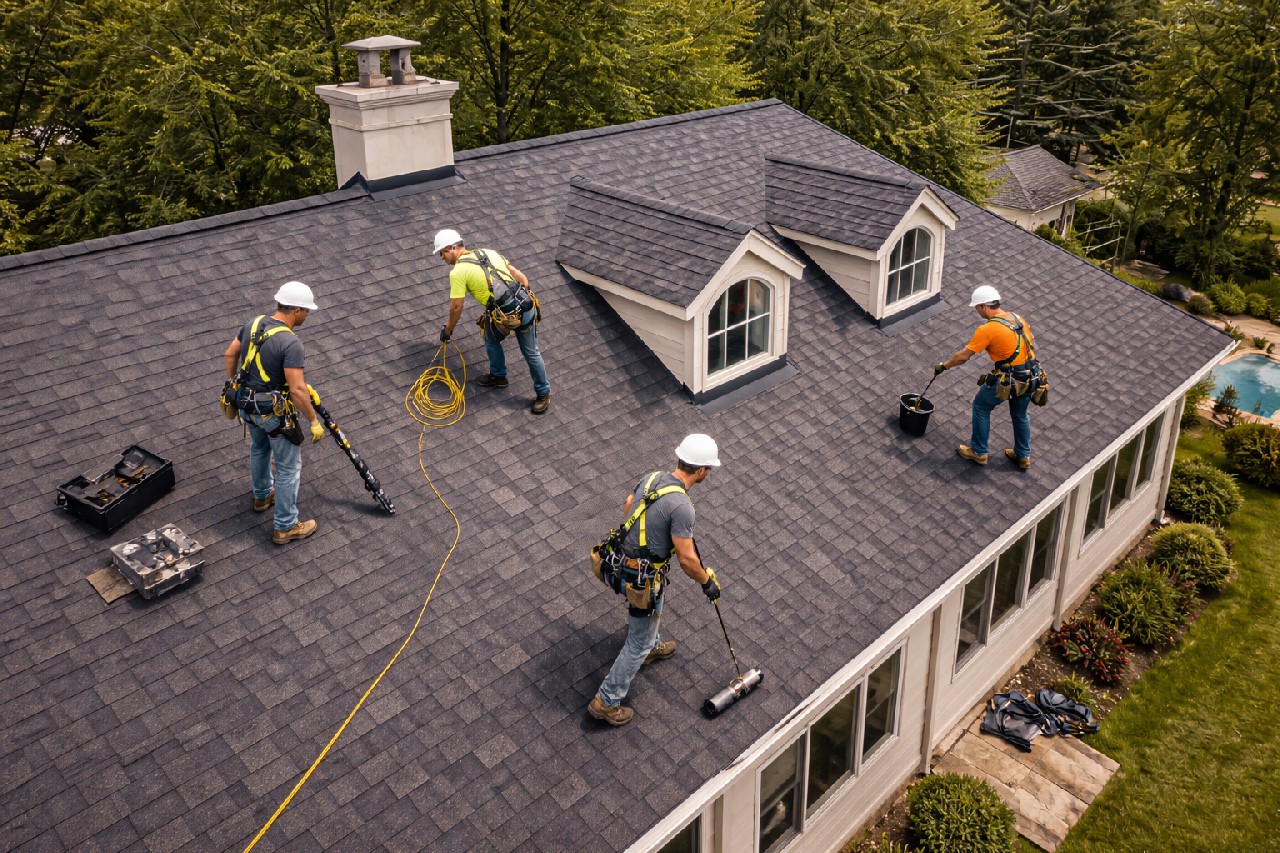
Must-Have Tools, Safety Gear, and Team Setup
Tools That Get the Job Done Right
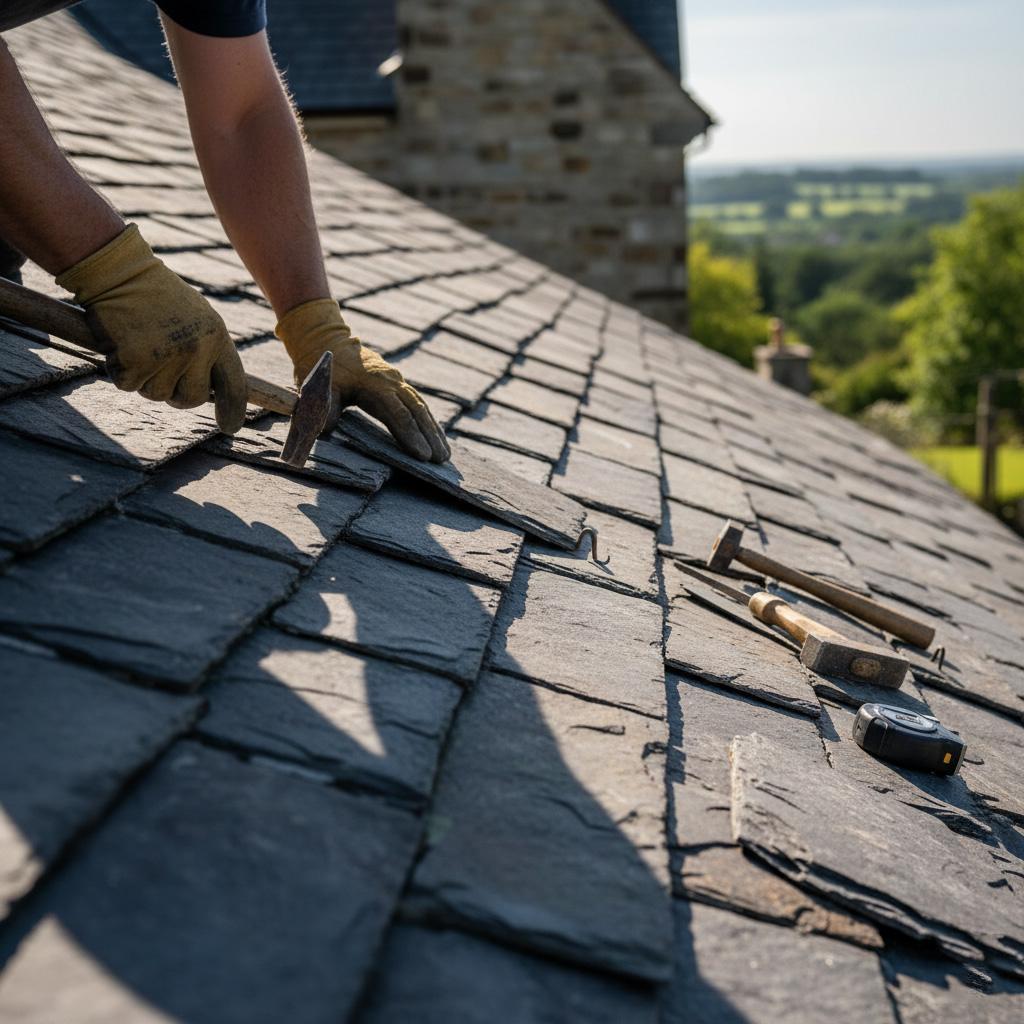
Skip the cheap stuff. You need a wet tile saw for clean cuts on those clay or concrete tiles—no jagged edges leaking water later.
Grab a chalk line for straight runs, pneumatic nailers for speed, and scaffolding that locks tight. Ladders? Extension models with standoffs to hug the roof pitch without slipping.
- Tile nippers for tricky hips and valleys.
- Underlayment rollers to flatten seams.
- Levels—laser ones beat bubble every time.
Gear Keeping You Alive Up There
Orlando heat turns roofs into griddles. Full-body harnesses with shock-absorbing lanyards tie off to anchors—no exceptions.
Hard hats, steel-toe boots, and cooling vests suck sweat before it blinds you. Gloves with grip for handling heavy tiles, plus eye pro and ear plugs for the saw whine.
Water stations mandatory. Dehydration drops pros faster than a storm.
Team That Nails It Every Time
Lead installer calls shots—10 years minimum on tile. Two tile setters hustle the bulk, one cuts and hauls.
Spotter on the ground for tools and traffic. Rotate breaks to beat the sun. Communicate with radios—no yelling over saws.
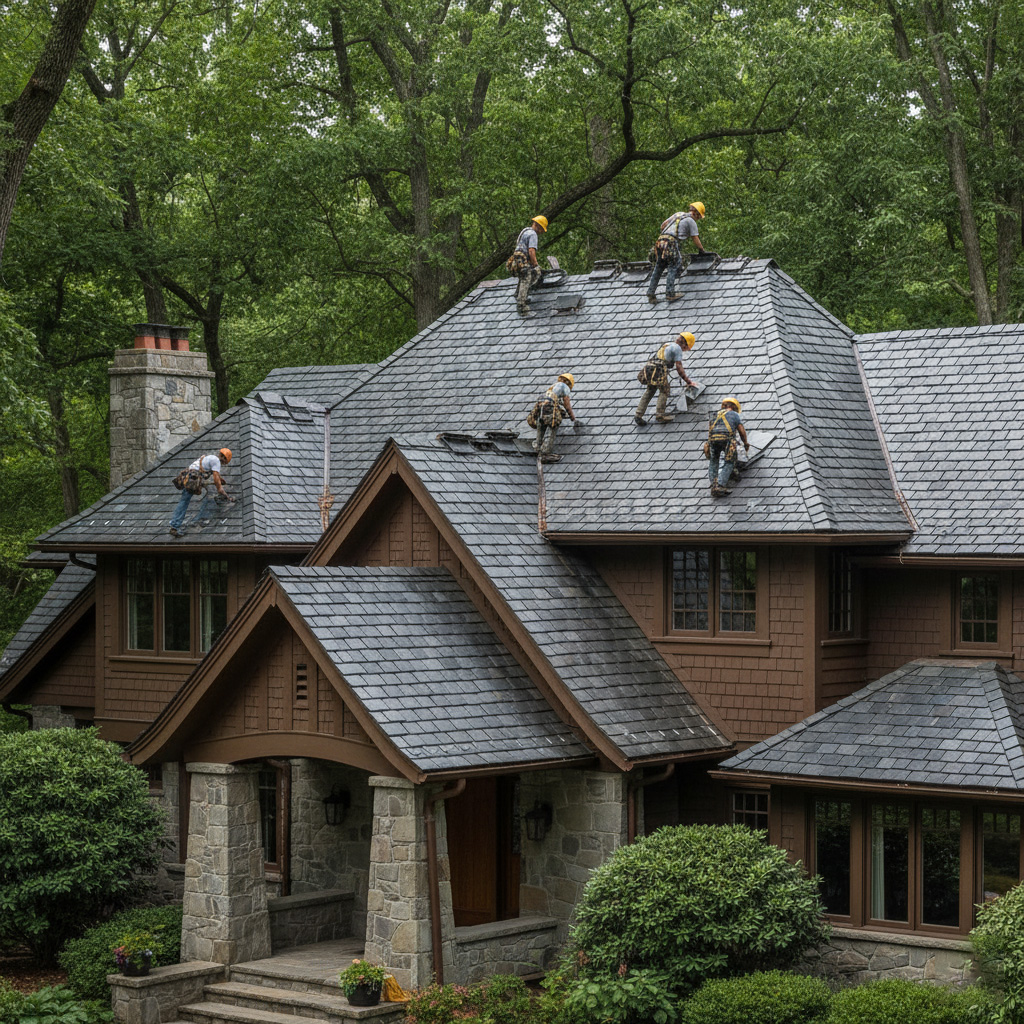
Step-by-Step Tile Laying: From Starter Course to Ridge Cap
1. Nail Down That Starter Course
Lay your starter tiles or strips first along the eaves. They act like a solid base, preventing wind uplift in those Orlando gusts.
Space them tight—no gaps bigger than a finger. Secure with corrosion-resistant nails, two per tile, right through the nail holes into the decking.
2. Stack the Field Tiles Like Pros
Start your first course above the starter. Offset each row by half a tile for that interlocking grip—key for shedding Florida rain fast.
- Work left to right, upslope.
- Tap tiles into place with a rubber mallet. No forcing.
- Check every third row with a chalk line. Keep it straight or leaks will haunt you.
Nail as you go: one in the center, another near the head lap. Double-nail edges near hips and valleys.
3. Cap It Off with Ridge and Hip Tiles
Flash hips and ridges first with underlayment and metal. Then snap on preformed ridge caps, overlapping two inches minimum.
Seal joints with high-heat mastic—beats silicone in our scorching sun. Finish by bedding tiles in mortar for a bombproof seal against hurricane winds.
Conquering Central Florida Challenges: Heat, Humidity, and Wind Codes
Central Florida throws heat waves that bake tiles to 150 degrees. Your mortar cracks if it can't flex. Pick polymer-modified thin-set that laughs at expansion.
Beat the Heat
- Work early mornings. Noontime installs warp everything.
- Pre-soak tiles 30 minutes before laying. They grip better.
- Space joints 1/8 inch for breathing room.
Humidity turns roofs into saunas. Skip cheap felt underlayment. It traps moisture and rots your decking fast.
Tame the Humidity
Go synthetic. These sheets shed water like a duck but let vapor escape. We've seen homes last 50 years without a leak this way.
Wind Codes That Save Your Roof
Orlando sits in high-velocity hurricane zones. Florida code demands 6 nails per tile minimum, corrosion-resistant. Skip this, and one gust rips it clean off.
- Double-lock ridge caps with foam closure strips.
- Batten strips every three courses for wind uplift resistance.
- Test pull-out strength. Pros hit 100+ mph easy.
Ignore these, and insurance laughs at your claim. Nail them, and your roof stands tall through the next Charley.
Case Study: Transforming a Wind-Beaten Orlando Bungalow
Take this classic 1950s bungalow in College Park. Years of Central Florida winds had shredded the old asphalt shingles, leaving leaks everywhere and the structure exposed. Homeowner called us after Irma, desperate to ditch the patching cycle for good.
The Game Plan
We started with a full tear-off and inspection. No shortcuts. Then laid down high-impact underlayment rated for 150 mph winds.
- Chose Boral concrete tiles – lighter than clay, zero cracking in heat.
- Double-fastened every tile per Florida Building Code, starting from eaves up.
- Added ridge vents for killer airflow, killing attic sweat.
Three days later, roof gleamed. Next summer? Category 2 brushed by. Not a single shingle flew. Bills dropped 20% from better insulation. Owner's grinning, selling point for the neighborhood.
Final Thoughts
You've got the blueprint now. A tile roof done right in Orlando lasts decades, slashes energy bills, and laughs at storms. Skip the DIY disasters.
Bottom line: hire pros who've battled Central Florida roofs daily. Amateurs bleed cash on callbacks. We don't.
Quick Wins Before You Start
- Verify your underlayment meets Florida Building Code wind specs.
- Stock up on high-impact tiles rated for 130+ mph gusts.
- Schedule that pre-inspection. Catch rot early, save thousands.
Ready to armor your home? Dive deeper into our Tile Roof Installation lineup or hit us up for a no-BS quote. Your bungalow deserves this.
People Also Ask
How much does tile roof installation cost in Orlando?
Tile roof installation in Orlando typically ranges from $10,000 to $30,000, depending on roof size, tile type, and labor. Factors like underlayment upgrades for hurricane resistance and accessibility add to the cost. For an accurate quote, consult local experts familiar with Central Florida building codes.
What is the best tile roof material for Orlando's climate?
Clay or concrete tiles are ideal for Orlando due to their durability against heat, humidity, and wind. Choose Class F underlayment and impact-resistant tiles meeting Florida's stringent wind codes. These materials ensure longevity and energy efficiency in subtropical conditions.
How long does it take to install a tile roof in Orlando?
A standard Orlando home tile roof installation takes 5-10 days, influenced by roof complexity and weather. Professional crews handle prep, laying, and flashing efficiently while adhering to local permits. Delays from rain or inspections are common in Central Florida.
Do I need a permit for tile roof installation in Orlando?
Yes, Orlando requires a building permit for all roof installations to ensure code compliance. Submit plans showing wind-resistant materials and hire licensed contractors for approval. This protects against fines and ensures insurance coverage post-install.
How do you prepare a roof for tile installation in Florida?
Conduct a thorough inspection for structural integrity, remove old roofing, and install moisture barriers suited for humidity. Reinforce decking to support heavy tiles and apply ice-and-water shield in valleys. Proper prep prevents leaks and extends roof life in Florida's wet climate.
Orlando Roofing delivers roofing services with extensive experience serving the Orlando, FL community. The team specializes in installations, repairs, and maintenance tailored to Central Florida's climate. Committed to local homeowners and businesses, Orlando Roofing focuses on durable, reliable results.
Need Roofing?
Rapid roofing repairs and installations in Orlando, FL and nearby areas (32801, 32803, 32805, 32807, 32809), delivering weather-resistant protection fast.
Get Roofing Quote